Yield: 16-20 squares | Prep: 20 min | Bake: 35-40 min | Chill: 2+ hours
The Backstory
Before we dive into the butter, let me tell you why these squares deserve a spot in your permanent recipe collection. Dulce de leche—that thick, caramelized milk nectar that hails from Latin America—isn’t just a topping here. We’re layering it into a buttery shortbread-style base and finishing with a drizzle that makes every bite taste like a warm hug from an Argentine abuela.
This isn’t one of those “impressive but finicky” desserts. This is set-it-and-bake-it territory. Even your most baking-challenged friend could nail this on a Tuesday night.
What You’ll Need
For the Base Layer
| Ingredient | Amount | Note |
|---|---|---|
| Unsalted butter, softened | 1 cup (225g) | European-style preferred |
| Granulated sugar | 1/2 cup (100g) | |
| Egg yolks | 2 large | Room temperature |
| Vanilla extract | 1 tsp | Use the good stuff |
| All-purpose flour | 2 cups (250g) | Spooned and leveled |
| Fine sea salt | 1/2 tsp | Don’t skip this |
| Cornstarch | 2 tbsp | For that tender crumb |
For the Dulce de Leche Layer
| Ingredient | Amount | Note |
|---|---|---|
| Dulce de leche | 1 1/4 cups (380g) | Store-bought is fine—see notes |
| Heavy cream | 2 tbsp | Loosens the dulce de leche |
| Flaky sea salt | Pinch | Optional but recommended |
For the Drizzle (Optional but Recommended)
| Ingredient | Amount |
|---|---|
| Semisweet or dark chocolate | 3 oz (85g) |
| Heavy cream | 2 tbsp |
Step-by-Step: Let’s Bake
1. Prep Your Pan
Preheat your oven to 350°F (175°C). Line an 8×8-inch baking pan with parchment paper, leaving overhang on two sides (your future self will thank you when it’s time to lift these out).
2. Make the Shortbread Base
In a stand mixer or with a hand mixer, cream the butter and sugar on medium speed until light and fluffy—about 3 minutes. Don’t rush this; you’re building the foundation.
Add the egg yolks one at a time, beating well after each. Mix in the vanilla.
In a separate bowl, whisk together the flour, cornstarch, and salt. Gradually add to the butter mixture, mixing on low until just combined. The dough should look like damp sand but hold together when pressed.
3. Press and Pre-Bake
Press the dough evenly into your prepared pan. Use the bottom of a measuring cup or your fingers—whatever gets you that flat, compact layer.
Prick all over with a fork (this prevents puffing). Bake for 20-22 minutes until the edges are just starting to turn golden. It won’t look fully done in the center—that’s correct.
4. The Dulce de Leche Layer
While the base is still warm, stir together the dulce de leche and heavy cream until smooth. This loosens it just enough to spread without tearing your base.
Pour over the warm crust and spread to the edges with an offset spatula or back of a spoon. That residual heat helps the dulce de leche settle in and adhere.
5. Final Bake
Return to the oven for 12-15 minutes—just until the dulce de leche is bubbly around the edges and slightly set in the center. It will still jiggle a bit; that’s okay, it firms up as it cools.
6. Cool and Chill
Let cool completely at room temperature, then refrigerate for at least 2 hours (overnight is even better). This is a patience test, but cutting warm dulce de leche is a sticky nightmare.
7. The Optional Chocolate Drizzle
Melt chocolate and cream together in 20-second bursts in the microwave, stirring between each, until smooth. Drizzle over the chilled squares using a spoon or piping bag. Chill another 15 minutes to set the chocolate.
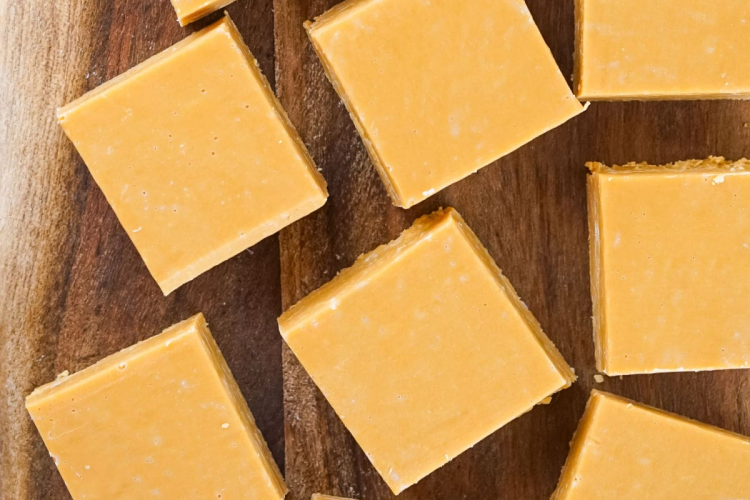
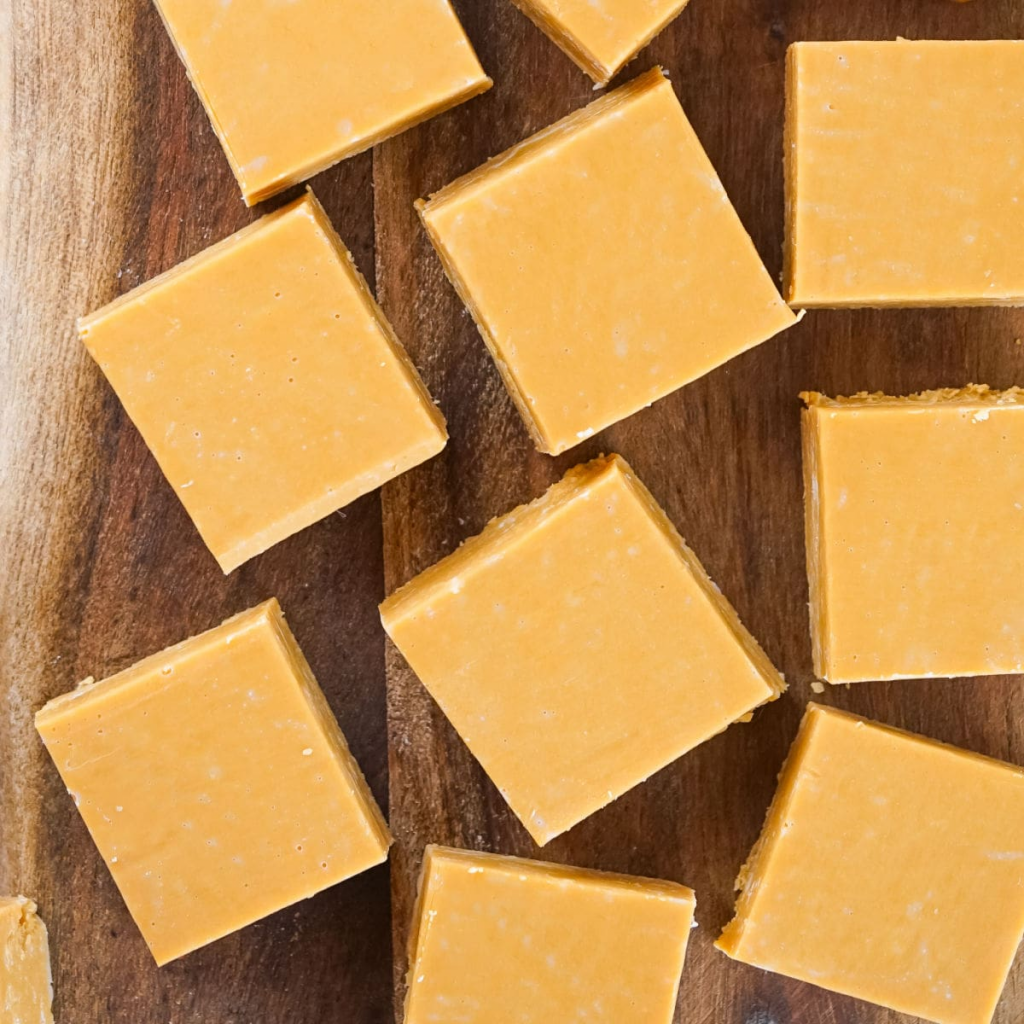
Cutting and Serving
Lift the whole block out using the parchment overhang. Place on a cutting board. Use a sharp knife dipped in hot water (wipe between cuts) for clean edges. Cut into 16 squares or 20 smaller rectangles.
These keep beautifully: 5 days at room temperature or 2 weeks refrigerated in an airtight container. Though honestly? They rarely last that long.
Chef’s Notes & Substitutions
Dulce de Leche: If you can’t find it, make your own—simmer a can of sweetened condensed milk in water for 2-3 hours (unopened, fully submerged). Or use cajeta (goat milk version) for a tangier twist.
Gluten-Free: Substitute a 1:1 gluten-free flour blend. Add 1 extra egg yolk if the dough feels crumbly.
Nutty Variation: Swap 1/4 cup of flour for finely ground almonds in the base. Adds subtle richness.
Salt Level: That flaky sea salt on top? It transforms these from “sweet dessert” to “give me another one immediately.” Don’t skip it.
Why This Works (Food Science Corner)
The cornstarch in the base creates a tender, melt-in-your-mouth texture without making the shortbread fragile. Egg yolks (not whole eggs) add richness and bind without introducing too much moisture—that’s a textural game-changer.
The double-bake method (par-bake base, add filling, finish) ensures your shortbread stays crisp enough to support the gooey dulce de leche center. Skip the pre-bake and you’ll have a soggy bottom. Nobody wants that.
Final Thoughts
These dulce de leche squares are what I call a “gateway recipe”—low effort, high reward, and impressive enough to make people think you spent hours. Bring them to a potluck and watch eyes light up. Leave them on the counter and discover who in your house has a sweet tooth (spoiler: everyone).
Bake them. Share them. Or don’t. Your secret’s safe with me.
Got questions? Made a variation? Drop a comment below—I’d love to hear how yours turned out! 🍪