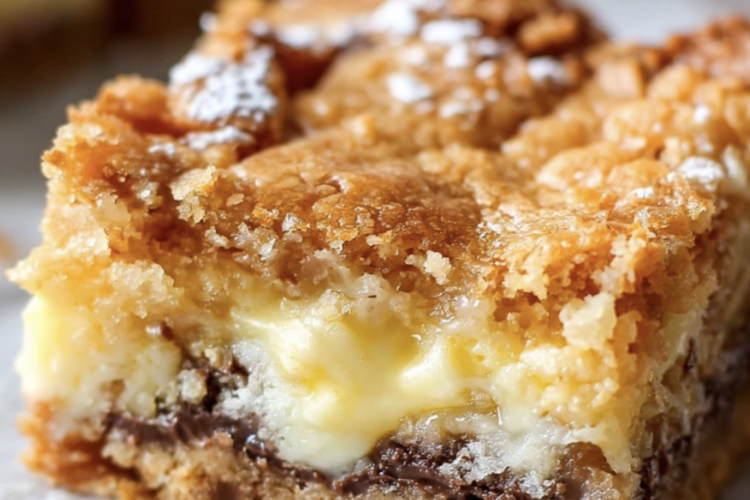
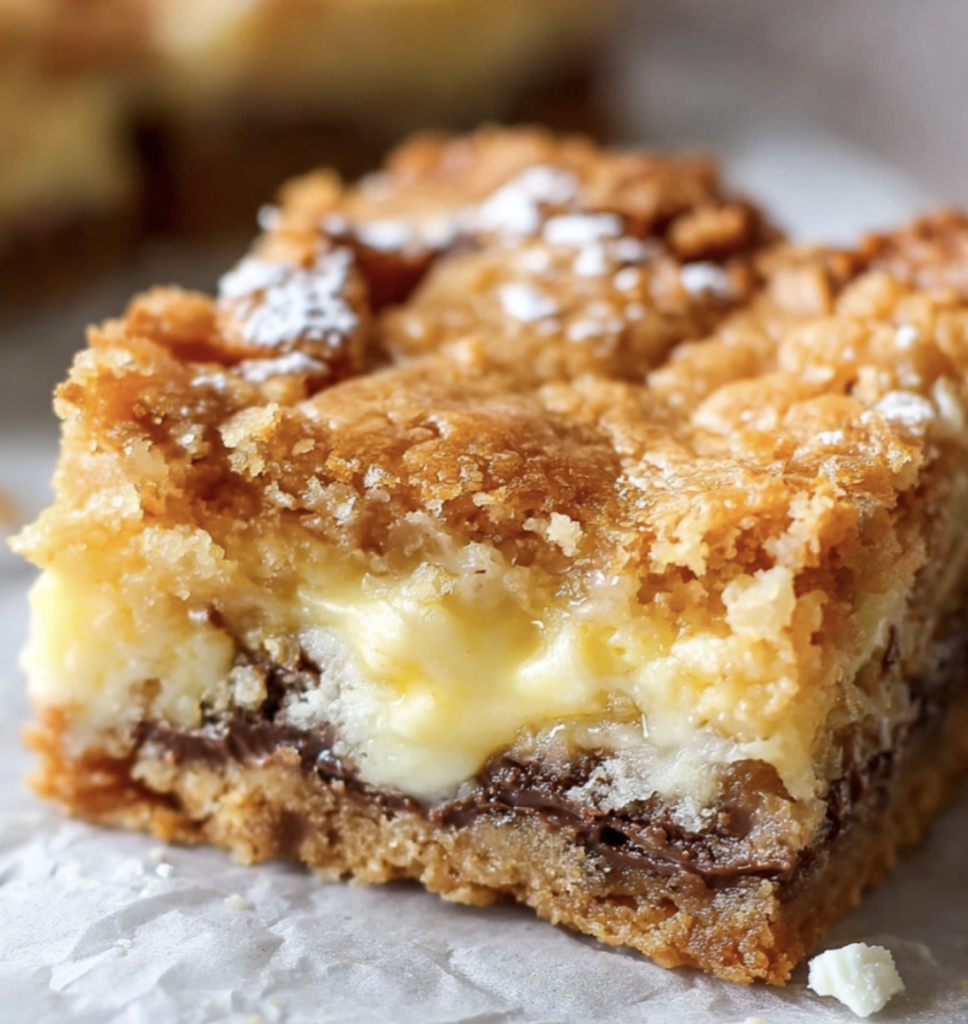
I still remember the first time I made these ooey gooey bars. It was a chilly fall evening, the kind where the oven does double duty as both heater and heart-warmer. I had a yellow Cake mix in the pantry that needed using, a block of cream cheese begging for attention, and a craving for something sweet but not fussy.
Thirty minutes later, the house smelled like home — buttery, warm, and sweet with the faintest whisper of vanilla. My husband wandered into the kitchen with that “what smells so good?” face, and my youngest was already dipping a finger into the filling bowl. That was the beginning of what’s now become a regular request at birthdays, potlucks, and those random Tuesday nights when dessert feels like a necessity, not a luxury.
Why You’ll Fall Head Over Heels for These Bars
- Fast, fuss-free, and foolproof — just mix, pour, and bake.
- Perfect for making ahead — which means no more last-minute dessert panic.
- Only a handful of ingredients — many of which you probably already have.
- Great for gifting — wrap them in parchment, tie with a ribbon, and you’ve got the sweetest little homemade surprise.
- Kid-approved AND kid-friendly — my grandbabies love helping sprinkle the powdered sugar on top.
Ingredients You’ll Need (and a Few Handy Tips)
For the Crust:
- 1 egg
- 1 stick of butter, softened
- 1 box yellow cake mix
- Tip: You can swap in a white or even lemon cake mix if you want a little twist. I once used a butter pecan mix — oh honey, that was something special.
For the Filling:
- 2 eggs
- 1 tsp vanilla extract
- 16 oz powdered sugar
- 8 oz cream cheese, softened
- Note: Don’t skip the softening step. Cold cream cheese makes everything lumpy and nobody wants that.
Let’s Get Baking — Step-by-Step Directions
- Preheat your oven to 325°F.
While it warms up, go ahead and grease a 9×13-inch baking dish. I usually use a bit of butter or nonstick spray — whatever’s handy. - Make the crust:
In a medium bowl, stir together the cake mix, softened butter, and egg until it comes together into a thick dough. It might feel a little crumbly — that’s okay. - Pat it down:
Press the crust mixture into the bottom of your greased dish. You want it nice and even, but no need to get fancy — just use clean hands. - Now for that dreamy filling:
In another bowl, beat the cream cheese until smooth, then mix in the eggs and vanilla. - Add the sugar (slowly!):
Set aside about ¼ cup of powdered sugar for sprinkling later. Now gradually mix the rest into your filling. I like to add it in 3-4 batches, stirring gently so it doesn’t poof up and coat your kitchen in sweet dust. (Trust me. I’ve learned this the hard way.) - Pour the filling over the crust:
Spread it out evenly with a spatula. - Bake it for 40–50 minutes.
It should be golden around the edges and just a little wobbly in the center. Don’t worry if it looks puffed up — it’ll settle down as it cools, like a good nap after a big meal. - Cool completely, then dust with powdered sugar.
And I do mean completely. Cutting into them too soon will get you a gooey mess — which honestly still tastes amazing, but looks less put-together if you’re gifting.
Fun Twists You Might Like to Try
- Chocolate crust: Use a chocolate cake mix for a rich twist — almost like a Brownie-meets-cheesecake vibe.
- Holiday spice: Add a dash of cinnamon or pumpkin pie spice to the filling for a festive flavor.
- Nutty Topping: Chopped pecans or walnuts sprinkled on top before baking add a bit of crunch.
How to Store & Reheat
These bars keep beautifully. Just pop them in an airtight container and store them at room temperature for up to 3 days, or refrigerate for up to a week.
Want them warm? A quick 10–15 seconds in the microwave is all it takes to bring back that just-baked magic. Just don’t overdo it — the filling’s meant to be soft, not bubbling lava!
From My Kitchen to Yours
These ooey gooey butter bars aren’t just dessert — they’re comfort food at its finest. They’re the kind of treat you bring to someone who needs a pick-me-up, or whip up for a crowd when you want smiles all around without pulling out every mixing bowl you own.
If you give these a try, I’d love to hear how they turn out for you. Did your little ones help? Did you try a fun twist? Drop me a comment or send a note — kitchen stories are my favorite kind.
Until next time,
Warm hugs & sweet treats.